CoreML 是 Apple 在 WWDC 2017 推出的机器学习框架。但是其到底有什么功能呢?本文对其进行初探。
模型
在 CoreML 中, Apple 定义了一套自己的模型格式,后缀名为: mimodel,通过 CoreML 框架,以及模型库,可以在 App 层面进行机器学习的功能研发。

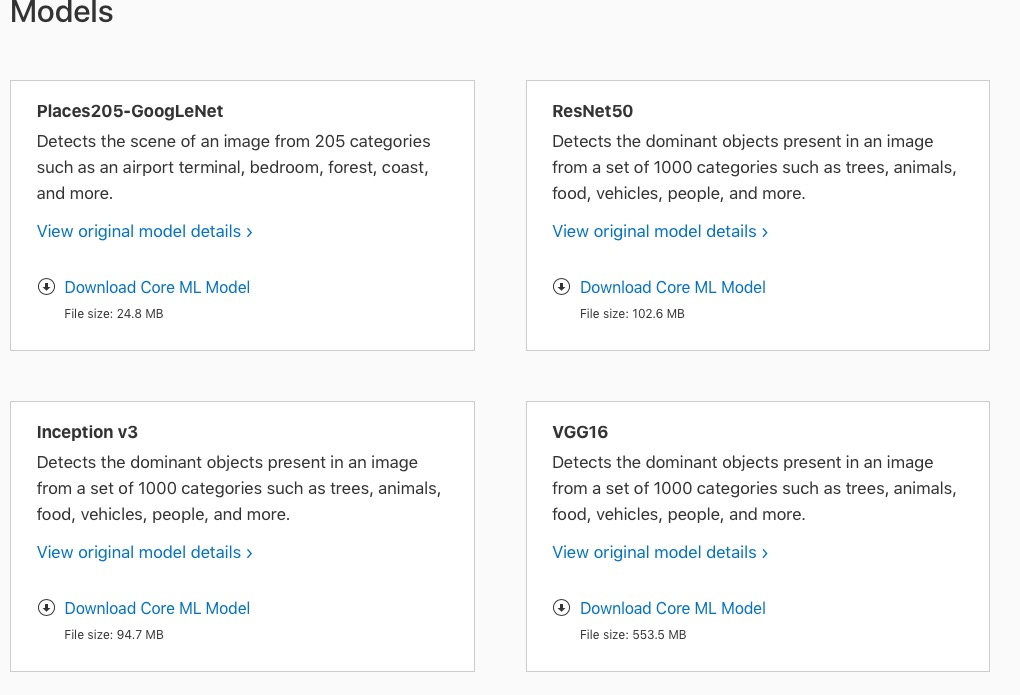
官网已经提供四个模型库供下载。
Demo
官网提供了一个 Demo,要求 XCode 9 + iOS 11 的环境。
下载下来 Run 了一下,不得不说,Apple 对开发者还是非常友好的,直接将模型文件拖到项目中,Xcode 会自动生成接口文件:
1 | import CoreML |
可以看到,主要是定义了输入,输出以及预测的格式,调用的时候,也非常简单,传参即可。
但是这些接口文件并没有在 XCode 左边的文件树中出现。
查了一下,是生成在 DerivedData 目录下,估计是想开发者使用起来更简洁。
运行一下,可以看到,主要功能是对价格进行预测。
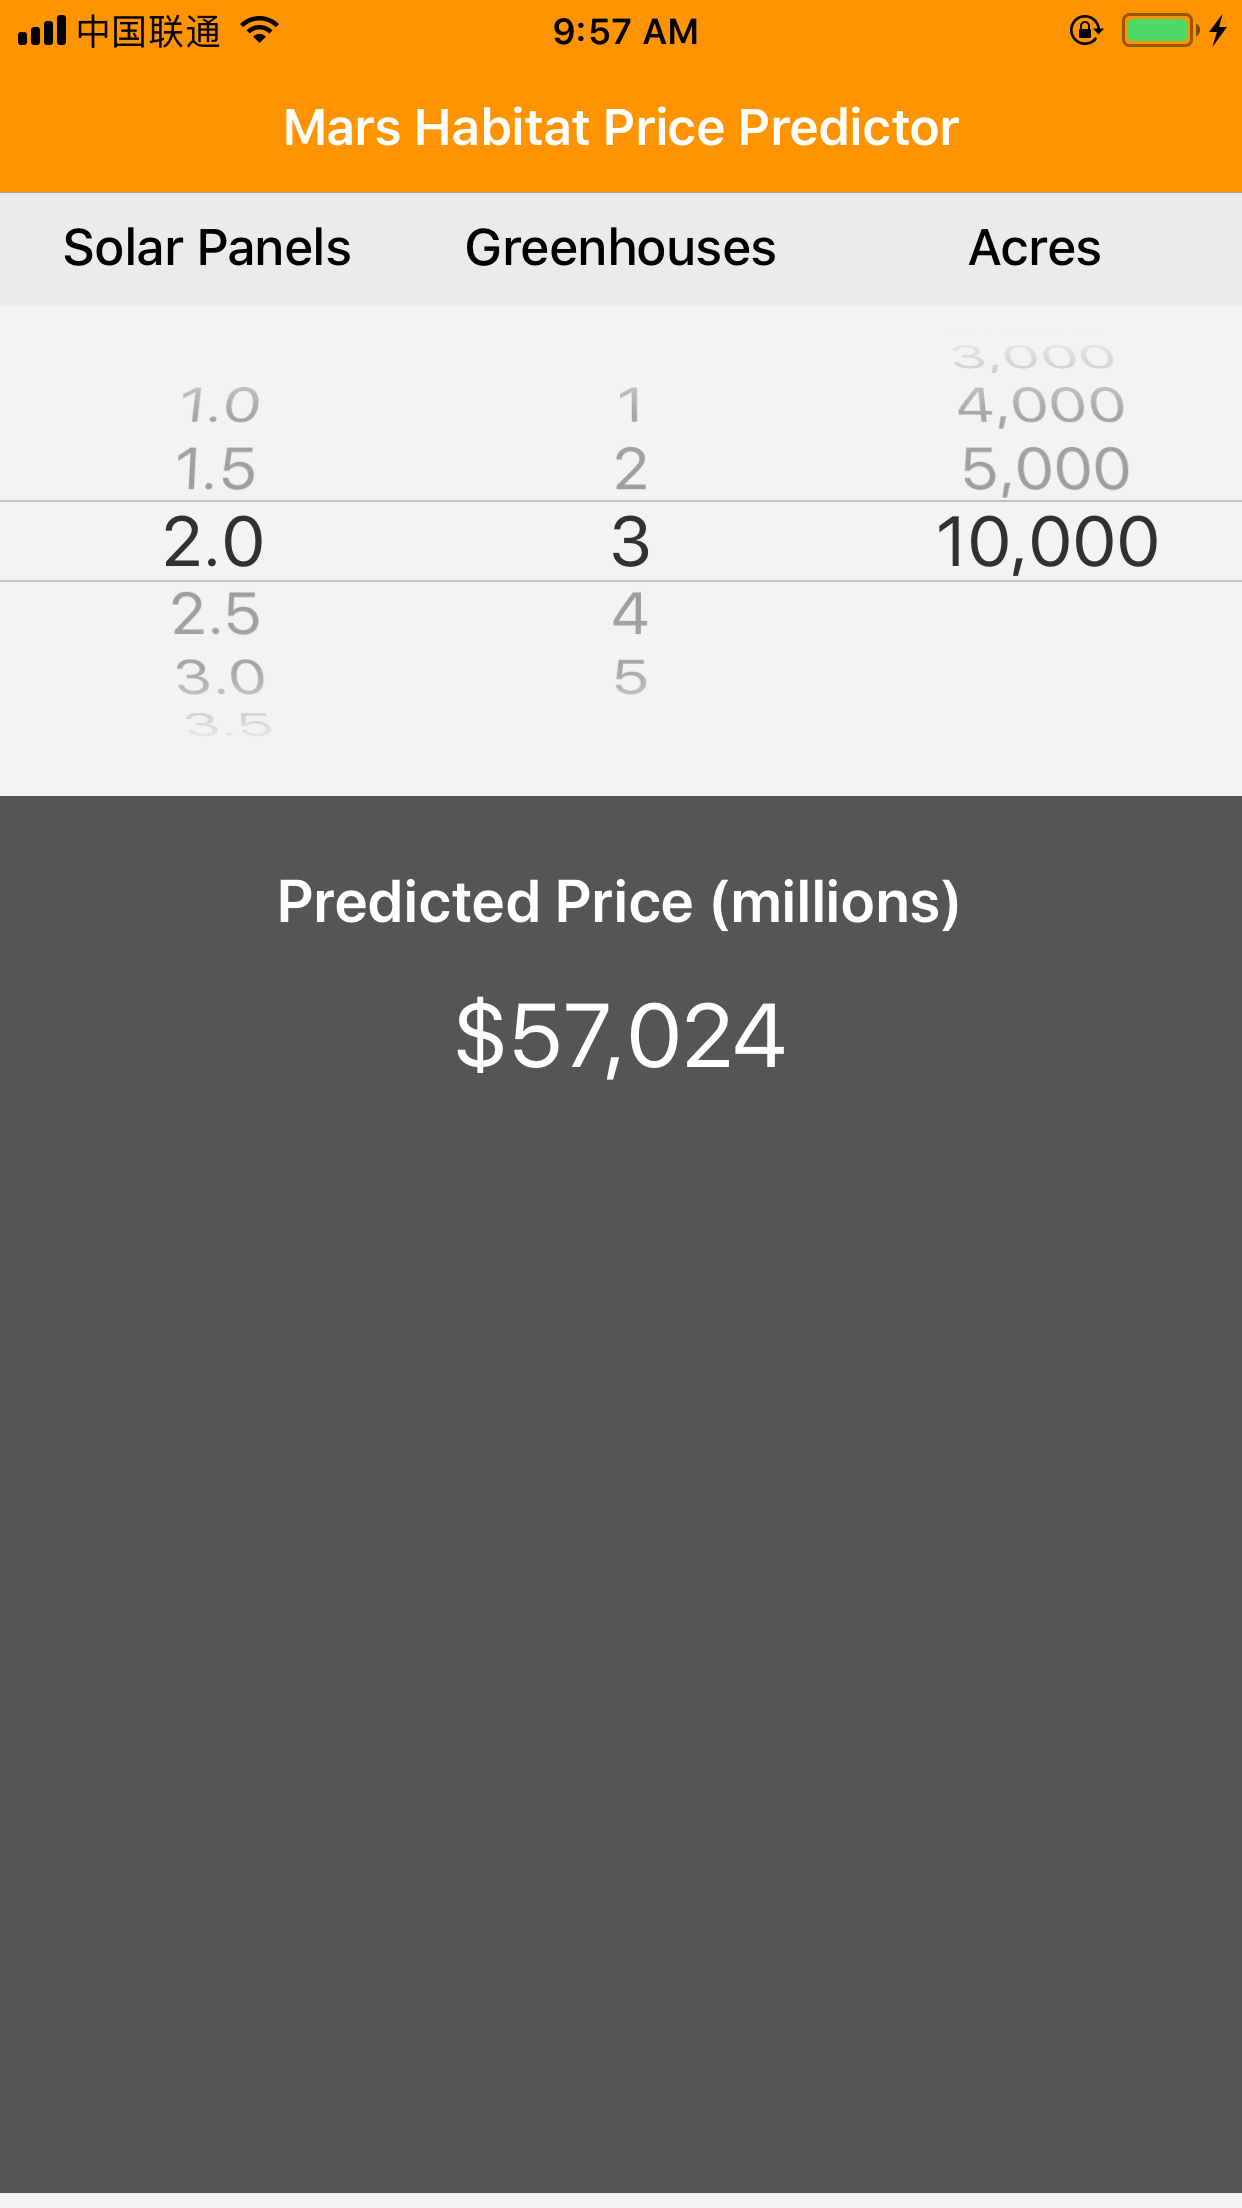
貌似稍微有点不够高大上…
Resnet50
官网提供的四个模型库,我们还没用呢,当然要看下能用来干啥,看了一下,貌似主要是物体识别,OK,代码走起。
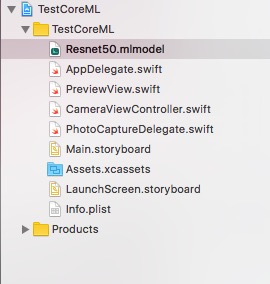
先下载模型库 Resnet50, 然后创建一个新的 Swift 项目,将其拖进去:
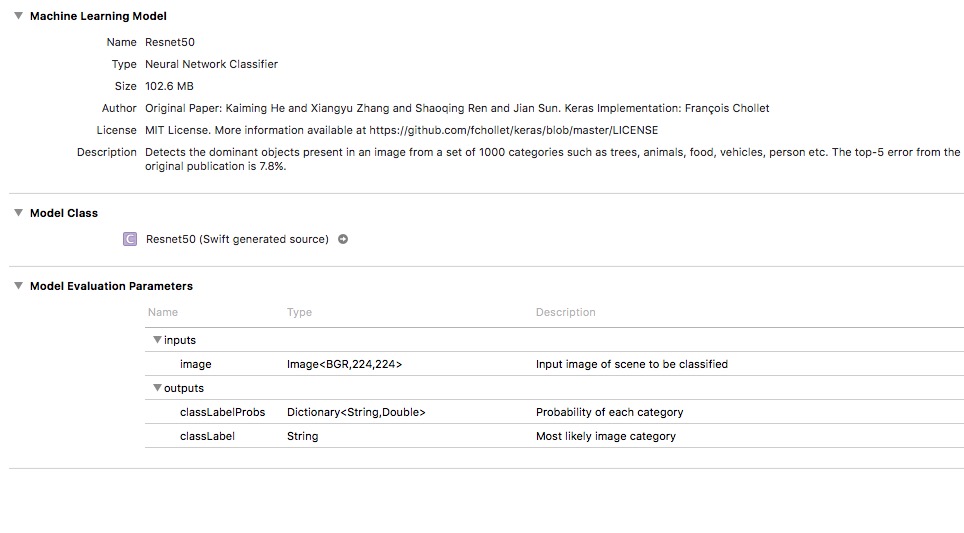
从描述里面可以看出来,其实一个神经网络的分类器,输入是一张像素为 (224 * 224) 的图片,输出为分类结果。
自动生成的接口文件:
1 | import CoreML |
OK,要照片,而且是 CVPixelBuffer 类型的。
但是每次从相册选太烦了,所以我们直接摄像头走起。将 AVCam 的主要功能类复制到项目中。
然后,禁用 CameraViewController 中一些不必要的按钮:
1 | self.recordButton.isHidden = true |
由于,AVCapturePhotoCaptureDelegate 拍照完成的回调为:
1 | func photoOutput(_ output: AVCapturePhotoOutput, didFinishProcessingPhoto photo: AVCapturePhoto, error: Error?) |
看了下 AVCaputrePhoto 的定义,里面刚好有 CVPixelBuffer 格式的属性:
![]()
直接传进去试试:
1 | // Predicte |
一切看起来很完美,编译通过,运行起来,点一下拍照按钮,额,Crash了,异常:
1 | [core] Error Domain=com.apple.CoreML Code=1 "Input image feature image does not match model description" UserInfo={NSLocalizedDescription=Input image feature image does not match model description, NSUnderlyingError=0x1c0643420 {Error Domain=com.apple.CoreML Code=1 "Image is not valid width 224, instead is 852" UserInfo={NSLocalizedDescription=Image is not valid width 224, instead is 852}}} |
哦,忘记改大小了,找到 photoSetting,加上宽高:
1 | if !photoSettings.availablePreviewPhotoPixelFormatTypes.isEmpty { |
重新 Run,WTF,Man,居然又报同样的错,好吧,Google 一下,貌似宽高的属性,在 Swift 里面不生效,额。。
没办法,那我们只能将 CVPixelBuffer 先转换成 UIImage,然后改下大小,再转回 CVPixelBuffer,试试:
1 | photoData = photo.fileDataRepresentation() |
重新 Run,OK,一切很完美。
最后,为了用户体验,加上摄像头流的暂停和重启,免得在识别的时候,摄像头还一直在动,另外,识别结果通过提醒框弹出来,具体参考文末的源码。
开始玩啦,找支油笔试一下:
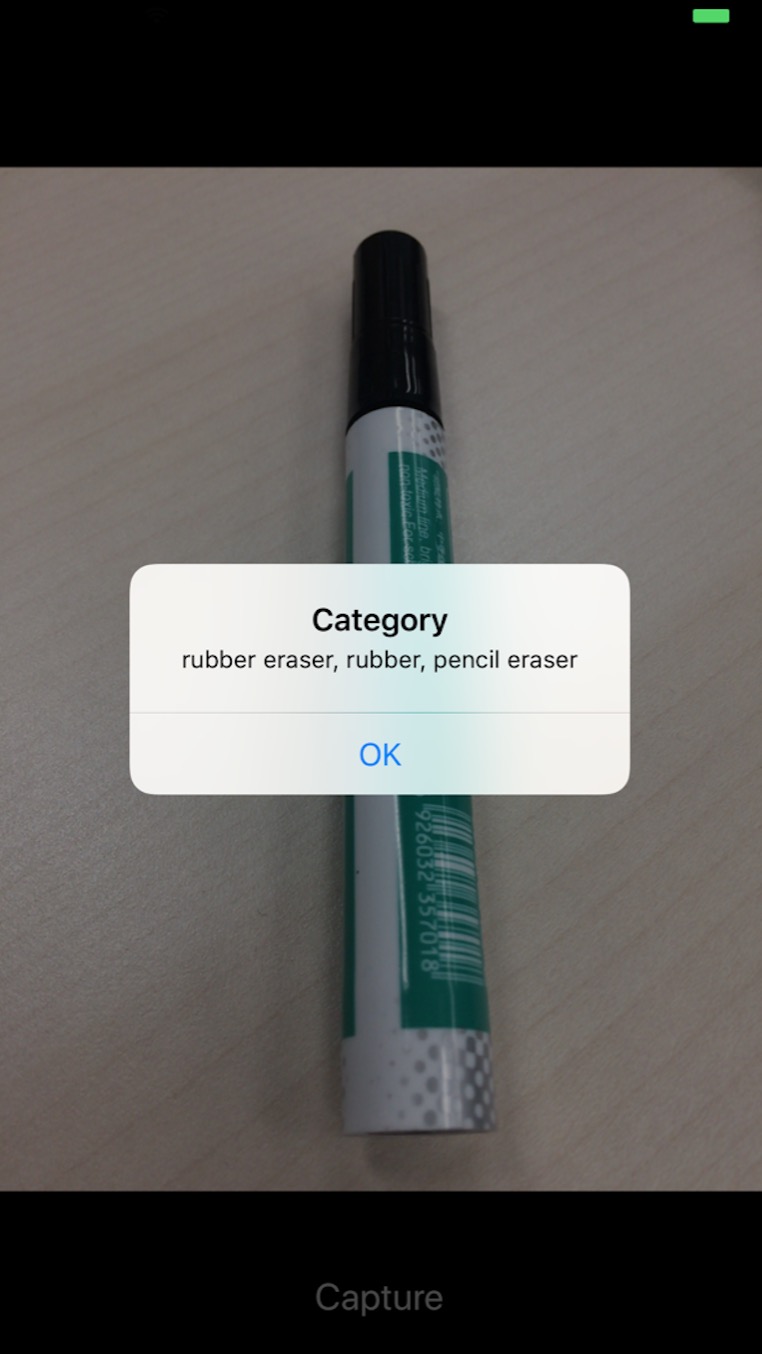
识别成,橡皮擦,好吧,其实是有点像。
再拿小绿植试试:
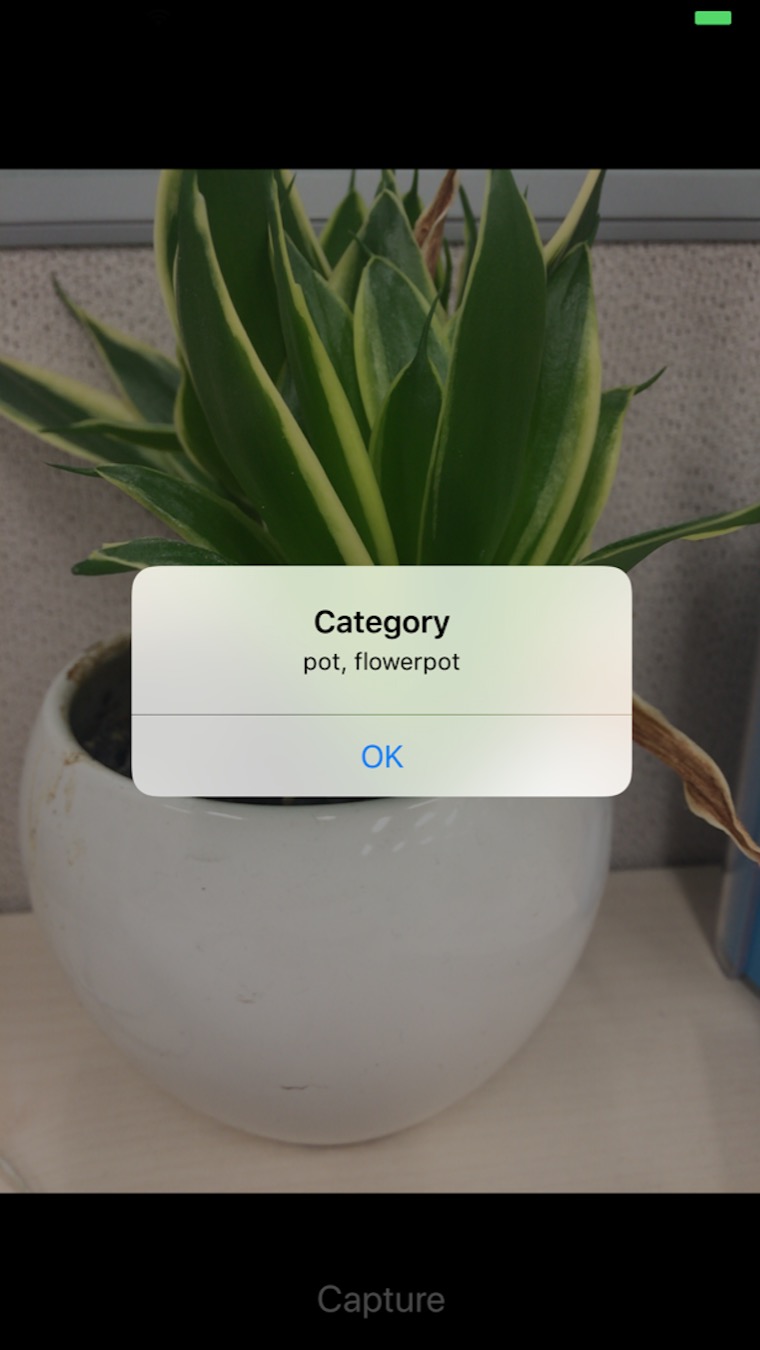
花瓶,Are you kidding me ??
其实,效果还是蛮不错的。
刚好下午要去上海 CES Asia,一路拍过去玩,想想都有点小激动。
最后,源码奉上,想玩的同学直接下载编译就行了,别忘了 Star~